

Starting an edible garden may seem like a daunting task, especially if you’re on a tight budget. But with a little bit of creativity and some resourcefulness, you can start your own edible garden for less than $50 or $100. Not only will you be able to enjoy fresh produce, but you’ll also be doing your part to reduce your carbon footprint and live a more sustainable lifestyle. In this article, I’ll share my experience of starting a simple edible garden for less than $50/ $100.
Step 1: Planning
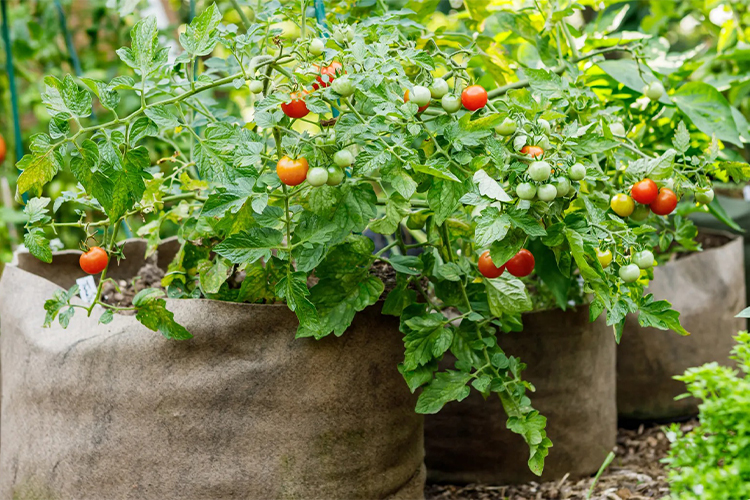
The first step to starting any garden is planning. You need to determine the size and location of your garden, what plants you want to grow, and how much you’re willing to spend. For a simple edible garden, you don’t need a lot of space. A small patch of land or a few pots on a balcony or windowsill will do. Choose plants that are easy to grow and maintain, such as herbs, leafy greens, and cherry tomatoes. These are also great options for beginners because they require minimal care and can grow in small spaces.
Step 2: Sourcing materials
Once you have a plan in place, it’s time to source your materials. You don’t need to buy everything new. Many items can be found for free or at a low cost. Look for used pots or containers on sites like Craigslist or Facebook Marketplace. You can also repurpose items around your home, such as buckets, plastic containers, or old tires. These can be turned into planters with a bit of creativity and a few holes drilled for drainage.
For soil, you can buy a bag of potting mix from a garden center, or you can make your own by combining compost, perlite, and peat moss. Compost can be sourced for free by starting a compost bin in your backyard or collecting food scraps from your kitchen. You can also ask local coffee shops or restaurants if they have any used coffee grounds or food waste that you can take for your compost.
Step 3: Planting
Once you have your materials, it’s time to start planting. Make sure to follow the planting instructions for each plant, such as how deep to plant the seed and how far apart to space them. If you’re planting in containers, make sure they have proper drainage holes to prevent water from accumulating and drowning your plants.
When planting, consider companion planting, which involves planting two or more plants together that benefit each other. For example, planting basil next to tomatoes can help repel pests and improve the flavor of the tomatoes.
Step 4: Maintenance
After planting, your garden will need regular maintenance. This includes watering, fertilizing, and pruning. Water your plants when the soil is dry to the touch, but don’t overwater, as this can lead to root rot. Fertilize your plants every few weeks with a balanced fertilizer, and prune any dead or damaged leaves to promote new growth.
Step 5: Harvesting
The best part of having an edible garden is harvesting your produce. When your plants start to produce, harvest regularly to encourage continued growth. Use your fresh produce in your cooking, or share with friends and family.
Step 6: Pest control
One of the biggest challenges of gardening is dealing with pests. However, you don’t need to resort to harmful chemicals to keep your garden pest-free. There are many natural methods you can use to keep pests at bay. For example, planting herbs like lavender, rosemary, and basil can help repel pests. You can also use companion planting to attract beneficial insects, such as ladybugs and lacewings, which can help control aphids and other pests.
Step 7: Upcycling
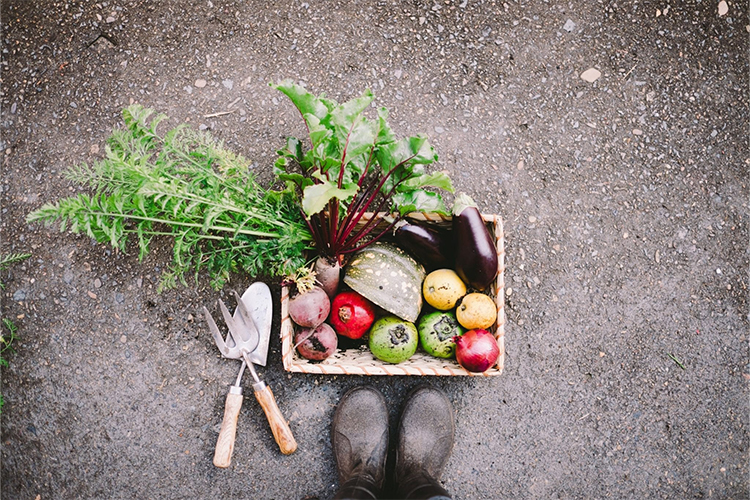
Another great way to save money on your garden is to upcycle items from around your home. For example, old gutters can be turned into planters, old pallets can be used to create raised beds, and even old tires can be turned into planters with a bit of creativity. You can also use items like eggshells, coffee grounds, and banana peels as natural fertilizers for your plants.
Step 8: Seed swapping
One way to save money on seeds is to participate in seed swaps. Many gardening communities and organizations organize seed swaps, where gardeners can trade seeds with each other. This is a great way to try out new plants without spending a lot of money. You can also save seeds from your own plants to use in future seasons.
Step 9: Vertical gardening
If you’re short on space, consider vertical gardening. This involves growing plants upwards, such as on a trellis or wall. This is a great option for plants like beans, peas, and cucumbers. Vertical gardening can also help maximize space and make your garden more visually appealing.
Step 10: Continuing education
continue to educate yourself about gardening. Attend workshops, read books and articles, and talk to other gardeners. This can help you improve your skills, try out new plants, and troubleshoot any problems you may encounter.
Step 11: Watering on a budget
Water is essential for a healthy garden, but it can also be a significant expense. To save money on watering, consider collecting rainwater in a barrel or using a drip irrigation system. You can also water your plants in the early morning or late evening to minimize water loss due to evaporation.
Step 12: DIY compost
Compost is a great way to add nutrients to your soil and improve the health of your plants. Instead of buying compost from a store, consider making your own. You can start a compost bin in your backyard using kitchen scraps, leaves, and other organic materials. This is a great way to reduce waste and save money on buying fertilizers.
Step 13: Choosing the right plants
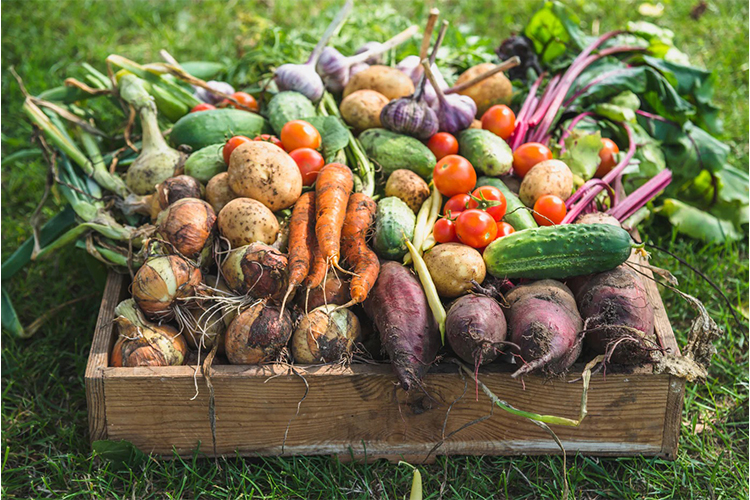
When selecting plants for your garden, choose varieties that are well-suited to your climate and soil type. This will help ensure that your plants thrive and produce a good harvest. You can also choose plants that are easy to grow and require minimal maintenance, such as herbs, leafy greens, and root vegetables.
Step 14: Starting from seed
Buying seedlings can be expensive, so consider starting your plants from seed. Seeds are much cheaper and can be started indoors before the growing season begins. This allows you to get a head start on your garden and save money in the process.
Step 15: Harvest and preserve
When your plants start producing, harvest them regularly to encourage more growth. You can also preserve your harvest by freezing, canning, or dehydrating it. This will allow you to enjoy your fresh produce throughout the year and reduce the need to buy expensive produce from the store.
In conclusion, starting a simple edible garden for less than $50/ $100 is possible with a little bit of planning, creativity, and resourcefulness. By sourcing materials from around your home, upcycling items, and participating in seed swaps, you can save money on your garden. By following these tips and continuing to educate yourself about gardening, you’ll be able to enjoy fresh produce and a more sustainable lifestyle. So, get out there and start gardening!