
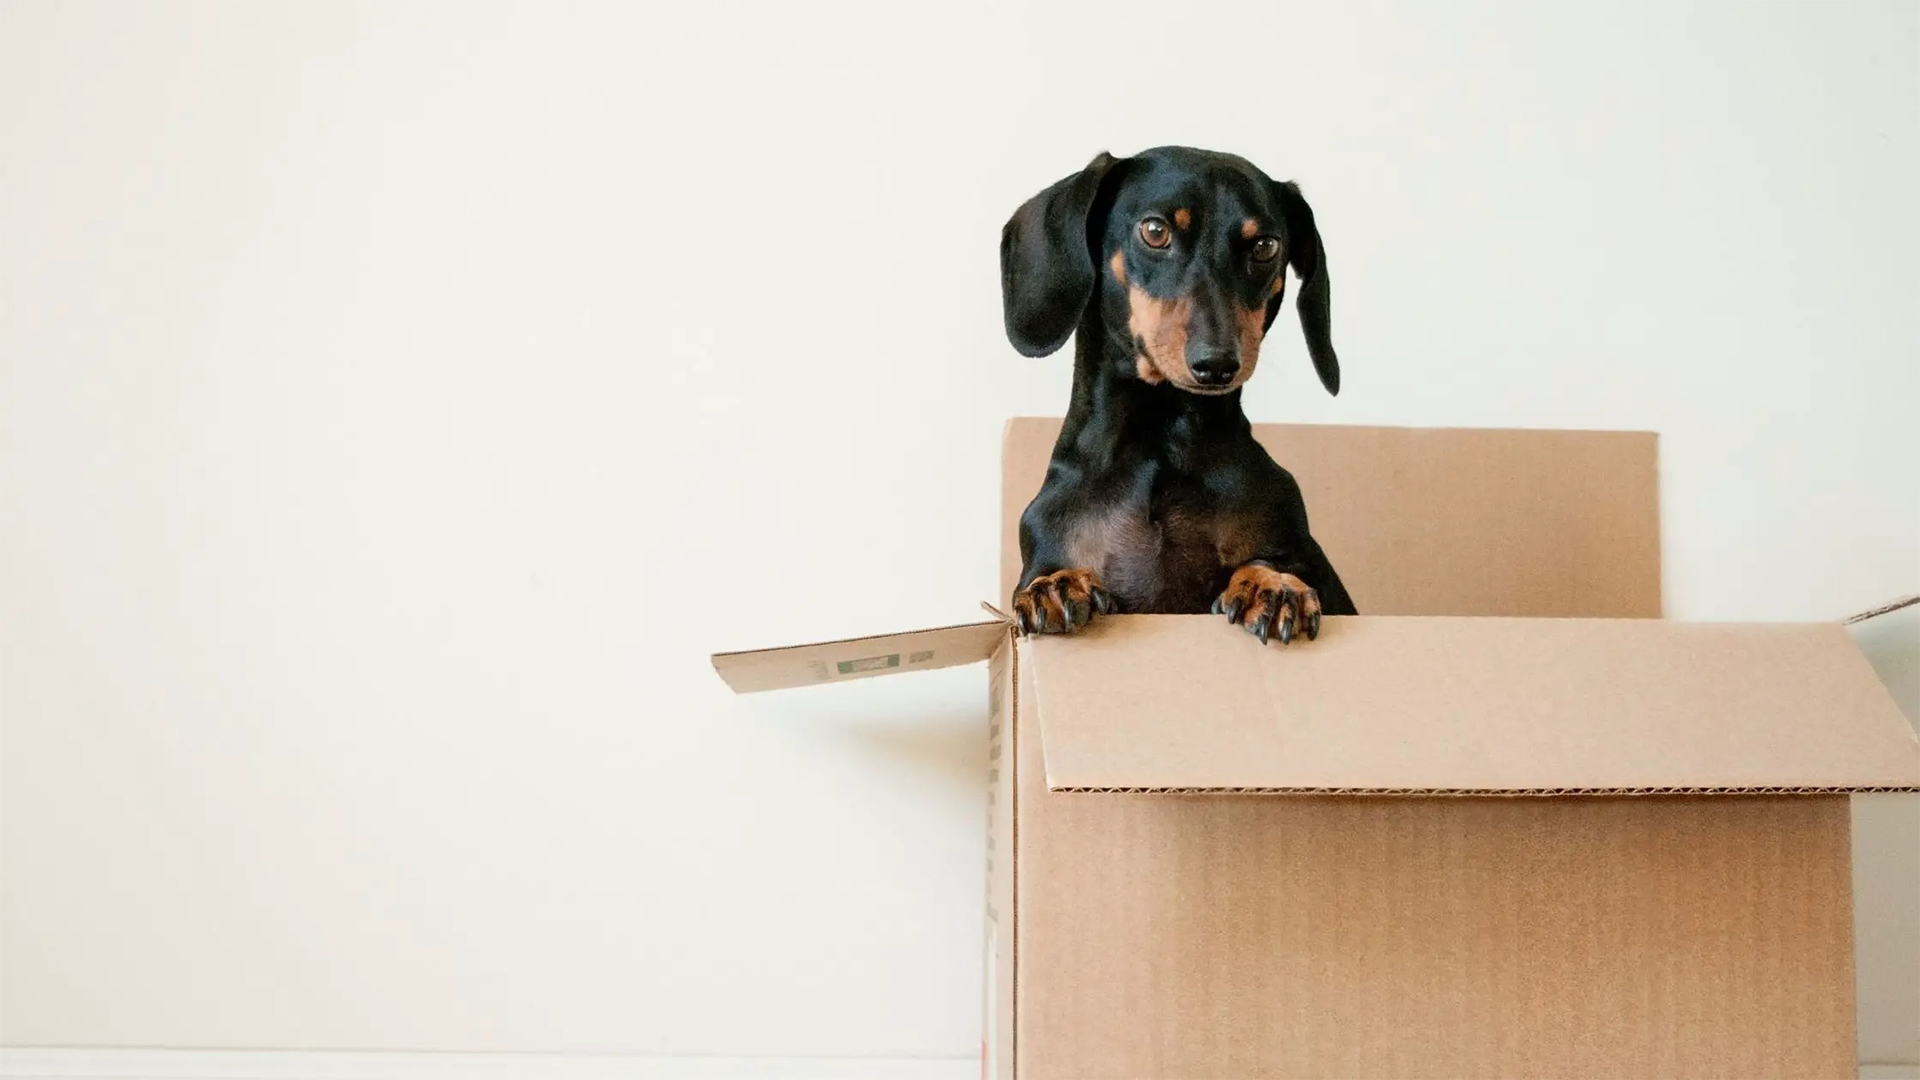
Dogs are known to be man’s best friend, and it is essential to make them feel comfortable and loved. One way of showing our furry friends some love is by giving them a cozy place to sleep. A comfortable dog bed not only ensures a good night’s sleep but also helps maintain good health. However, purchasing a dog bed can be expensive, and not everyone can afford it. But worry not, as we are here to share with you a fun DIY project that will not only save you money but also help the environment.
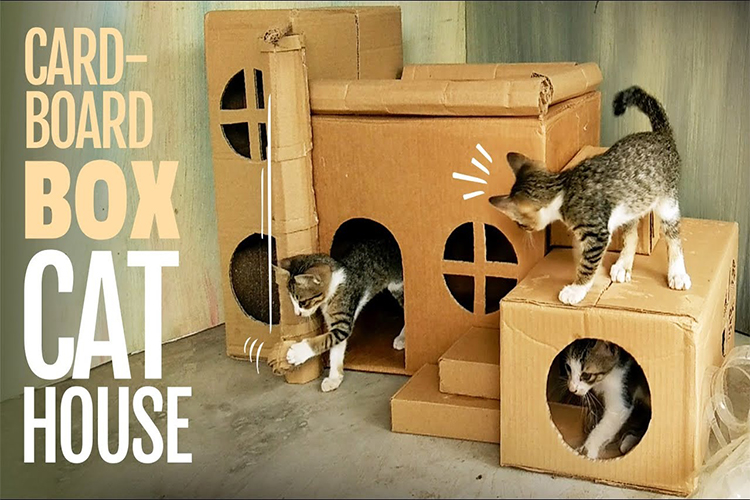
In this article, we will guide you through making a DIY dog bed out of old cardboard boxes. It is an easy project that you can do with materials readily available in your home. The best part is that it’s eco-friendly, and you’ll be repurposing something that might have ended up in the trash.
What you'll need:
Old cardboard boxes
Scissors or a box cutter
Ruler or measuring tape
Glue or duct tape
Marker pen
Step 1: Collect old cardboard boxes
The first step is to collect old cardboard boxes. These can be from deliveries, packages, or any other source. The size of the boxes will depend on the size of your dog. If you have a large dog, you will need bigger boxes, and if you have a small dog, smaller boxes will suffice.
Step 2: Cut the cardboard
Using scissors or a box cutter, cut the cardboard into rectangular pieces. The length and width of the cardboard should be based on the size of your dog. Make sure to measure your dog’s length and width to ensure that the cardboard pieces are the correct size.
Step 3: Assemble the base
Once you have cut the cardboard, it’s time to assemble the base of the dog bed. Take two rectangular cardboard pieces of the same size and glue or tape them together to form an L shape. Repeat the process with two more rectangular pieces to form another L shape. Then, glue or tape the two L shapes together to form a rectangular box.
Step 4: Build the walls
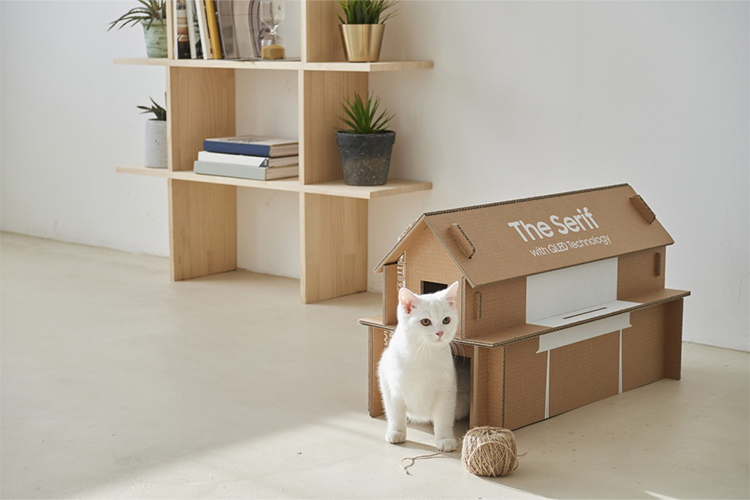
Next, take the remaining cardboard pieces and tape or glue them to the top of the rectangular base to form walls. You can choose to make the walls as high or as low as you like, depending on your dog’s preference.
Step 5: Cut out a door
Using a marker pen, draw a door on one side of the cardboard box. Make sure to choose a door size that is big enough for your dog to easily enter and exit the bed. Cut out the door using scissors or a box cutter.
Step 6: Add a cushion
To make the bed more comfortable, add a cushion inside the cardboard box. You can use an old pillow or any other soft material you have at home. If you want to make a removable cushion cover, you can sew one from any old fabric.
Step 7: Decorate the bed
Once you have completed the bed, you can decorate it to make it more appealing. You can paint the cardboard with non-toxic paint or cover it with fabric or wallpaper. You can also add your dog’s name or any other design that you like.
Step 8: Use multiple layers of cardboard for added comfort:
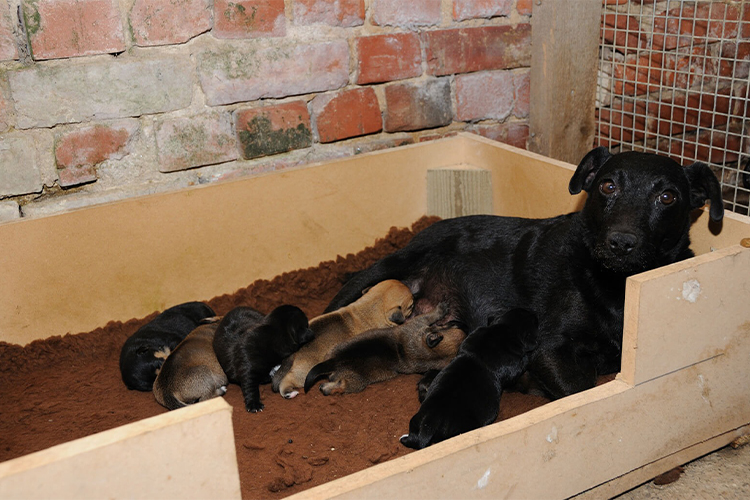
If you want to make the bed more comfortable, you can use multiple layers of cardboard to create a thicker base and walls. This will provide more support and cushioning for your dog.
Step 9: Cover the cardboard with a waterproof material:
To protect the cardboard from moisture or accidents, you can cover it with a waterproof material such as a shower curtain or a plastic tablecloth.
Step 10: Add a non-slip bottom:
To prevent the bed from sliding around on smooth surfaces, you can attach a non-slip material to the bottom of the bed. This can be a rubber mat, shelf liner, or even hot glue.
Step 11: Make a removable cover: Step 11: Make a removable cover:
If you want to make cleaning the bed easier, you can create a removable cover for the cushion. This can be done by sewing a simple cover with a zipper or velcro closure.
Step 12: Personalize the bed:
To make the bed even more special, you can add some personal touches such as your dog’s name or a favorite toy. This will make the bed feel like a special place just for them.
Step 13: Consider your dog's sleeping habits:
Before building the bed, think about your dog’s sleeping habits. Do they prefer a cozy, enclosed space or an open bed? Do they like to stretch out or curl up? This will help you determine the size and shape of the bed, as well as any additional features such as walls or a door.
Step 14: Use a box cutter for more precise cuts:
While scissors can work for cutting cardboard, a box cutter or utility knife can provide more precise cuts, especially when cutting through multiple layers of cardboard.
Step 15: Add handles for portability:
If you want to move the bed around the house or take it with you on trips, you can add handles to the sides of the bed. These can be made from strips of cardboard or even old belts or handles from bags.
Step 16: Use a glue gun for stronger hold:
If you’re using glue to assemble the bed, a glue gun can provide a stronger hold than regular glue or tape. Just be careful not to burn yourself!
Step 17: Cover the bed with a cozy blanket:
Once you’ve created the bed, you can add a cozy blanket or towel on top of the cushion for added comfort. This will also make the bed feel more inviting and snug.
In summary, making a DIY dog bed out of old cardboard boxes is a great way to save money, help the environment, and show your furry friend some love. With a little creativity and some basic materials, you can create a comfortable and personalized space for your dog to rest and relax. So, grab those old boxes and get started on your DIY project today!